Wask
A New Flame Ring
A New Flame Ring
Couldn't load pickup availability

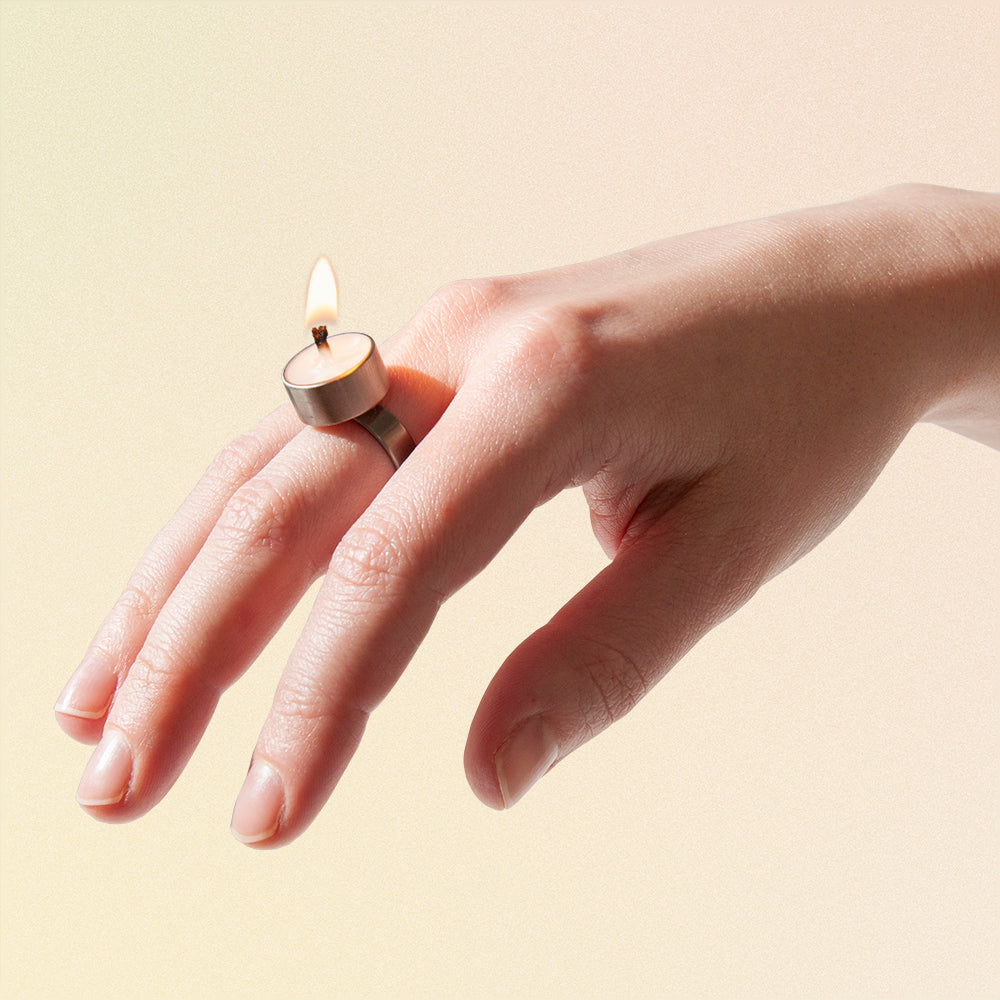
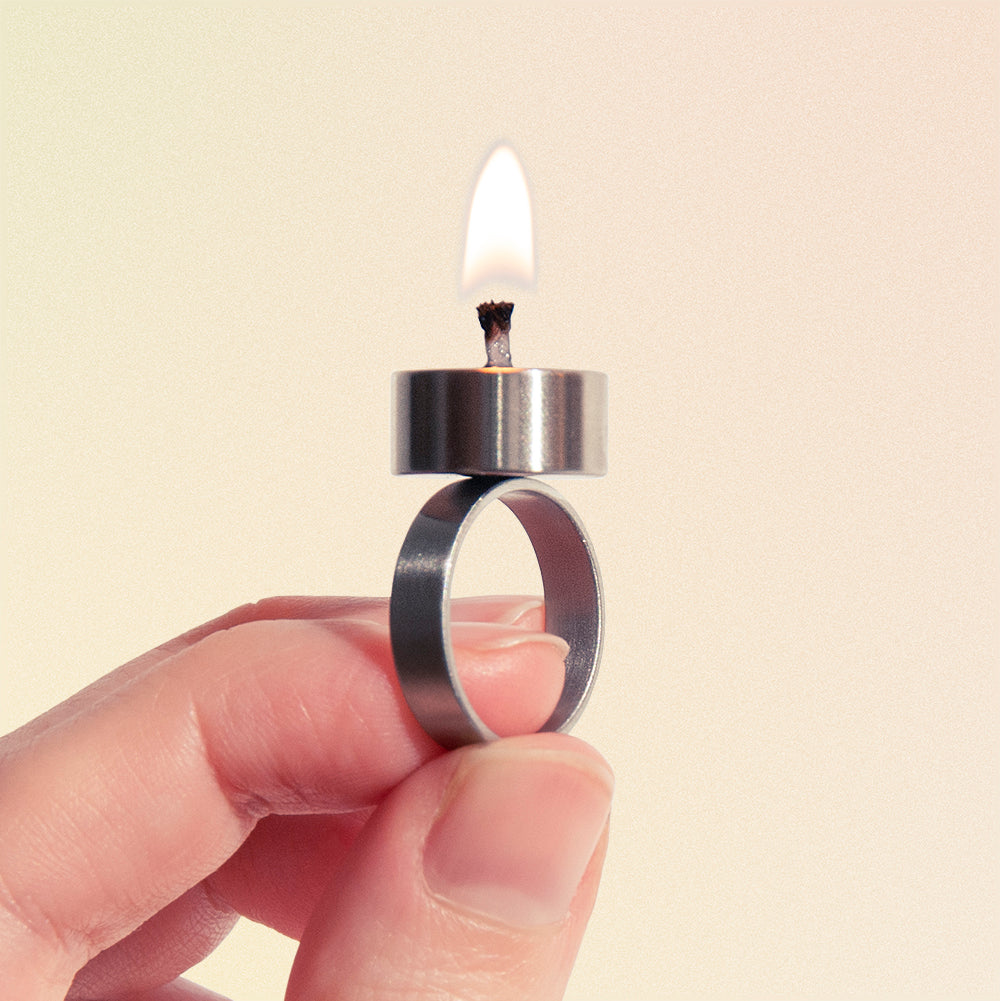
Shine bright, not like a diamond!
If you have a burning desire to glow to hell, then this ring is for you. It features a real tiny candle.
Included: 1 ring
Sizes: US & Canada. View Ring Size Chart.
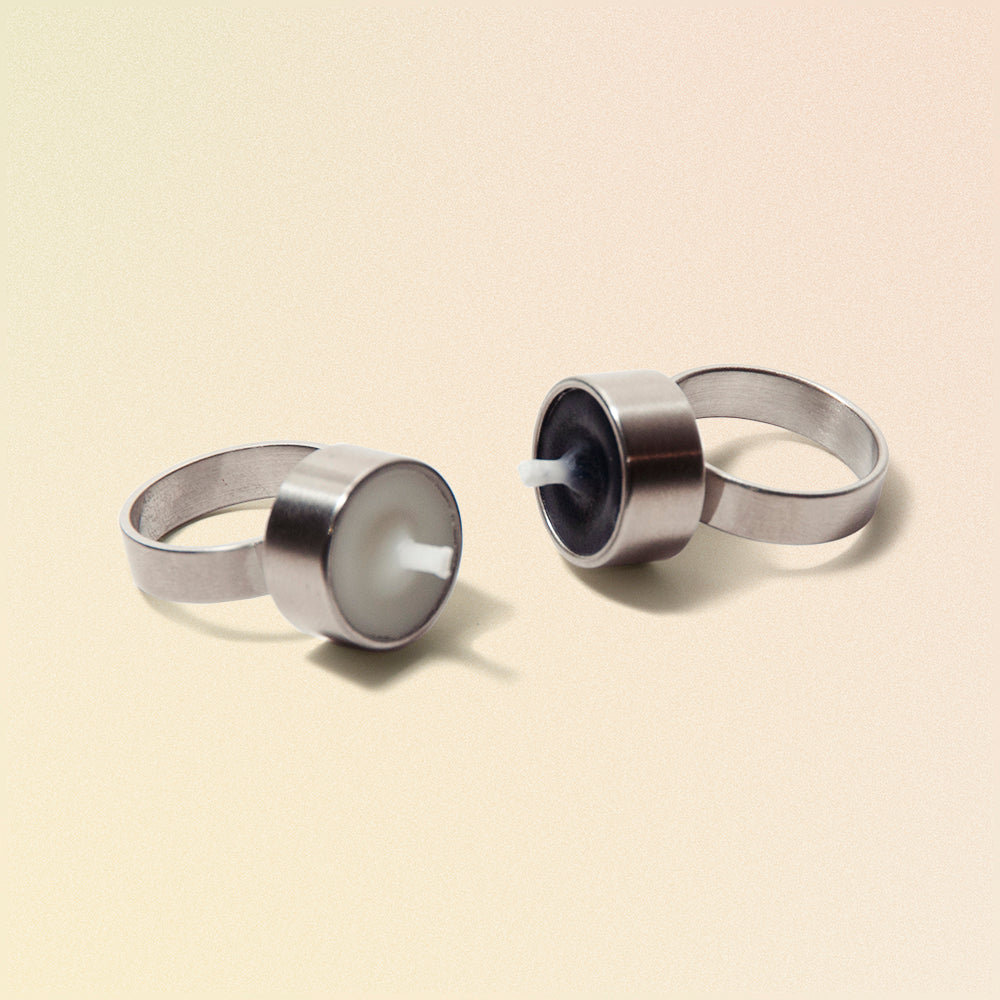
Colours: Black/White wax. More colours may come in the future.
Material: Stainless steel & parasoy wax.
Refilling: Ring Refill Instructions.
Disclaimer: The ring is for decorative purposes only. Wask is not liable for any damage that may occur from lighting the candle. Animated feature photo is for creative purposes only; ring does not self-ignite.

Instructions
- Use a piece of string and wrap it snugly around your finger
- Using a ruler, measure the length of string that wraps fully around your finger
- This measurement in mm is your circumference
- Use the chart to find your ring size based on your circumference
Ring Size Chart
US & Canada
| Size | Circumference (mm) | Diameter (mm) |
|---|---|---|
| 5 | 49 | 15.7 |
| 6 | 52 | 16.5 |
| 7 | 54 | 17.4 |
| 8 | 57 | 18.2 |
| 9 | 59 | 18.9 |
| 10 | 62 | 19.8 |
Refill Instructions
Candle Ring
-
 Step 1
Gather your new wax, wick tabs, and glue dots. You will also need a small metal pot, a pitcher, needle-nose pliers, metal tongs, tape and some paper towels. Fill the pot with water and bring it to a boil. As soon as it boils, remove it from the heat and let it settle — you want it very hot but no longer actively boiling.
-
 Step 2
Place the used candle ring in the pot. The wax should start to soften and melt, collecting on the surface in small droplets. Use the tongs to flip and shake the ring inside the pot for 30 seconds, and then remove the ring and let it cool for 30+ seconds.
-
 Step 3
Grab the ring using a paper towel, or while wearing heat-resitant gloves. Use the pliers to grip and pull out the old wick base (the small metal tab at the bottom of the barrel) and the old glue dot.
-
 Step 4
Using your tongs, put the ring back into the hot water in your pot for another 10 - 20 seconds, shaking it gently. Remove the ring, let it cool for 10+ seconds, and grab the ring while it's still warm through a paper towel (or heat-resistant gloves). Use another piece of paper towel to quickly wipe the entire surface of the ring, as well as the inside of the barrel. The paper towels will absorb the wax while it's still warm. After this step, your ring should look clean.
-
 Step 5
Let the water in the pot cool completely. Once the wax hardens on the surface, remove it with a spoon and discard it. When dumping the water, use your sink strainer to catch any small wax bits — do not pour wax down the drain, as it can clog your pipes. If there is still wax left in your pot after draining the water, heat up the pot until the wax melts, and wipe the wax off with a paper towel.
-
 Step 6
Prepare your new wick by wiping the bottom of the metal tab to clear off any residue, then firmly press a glue dot onto it.
-
 Step 7
Peel the other side of the glue dot and carefully lower the wick tab into the ring barrel. Check that the wick appears centered — some wick tab brands are slightly off-center, so take a moment to find the best position. Once satisfied, use the tip of the pliers to press the tab firmly to the base. Tape or tack your ring to a prepared surface (in case you drip wax) to prepare for refilling.
-
 Step 8
Melt your wax of choice in a pouring pitcher or any small metal pitcher with a spout. For parasoy wax, aim for a pouring temperature of around 140–160°F (60–70°C). Make sure the ring isn't colder than room temperature before pouring — a cold ring can cause the wax to crack as it sets. Carefully fill the ring to the top. Make sure the wick is setting in an upright position. If not, hold it straight for a couple minutes while the wax sets. Let it cool.
-
 Step 9
Trim the wick to your desired length. If you overfilled your ring and got wax all over it, let it harden and then clean up any overflow with a paper towel and gentle scraping. Now you've got a fresh ring!